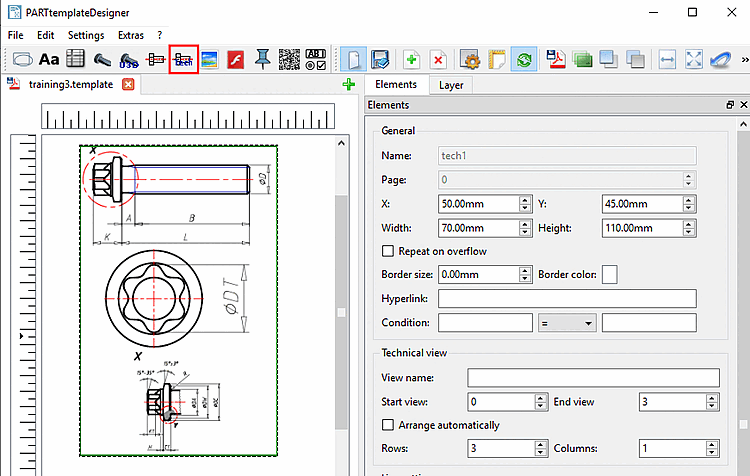
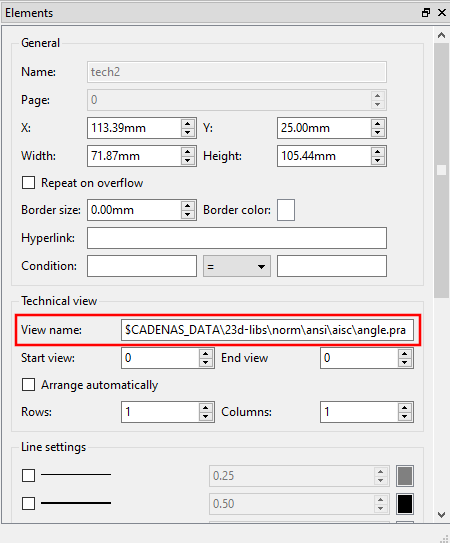
In this section you will find explanations of the setting options for Technical view
 .
.
General: See Section 10.4.2, “General settings”.
Declaring the view by its name is not recommended, because the name can be different at the single parts.
Better declare the technical views as numeric listing.
0,1,2,etc.
Alternatively, you can also specify an area. Select the value for End view large enough so that the technical views can be displayed in any case.
The automatic arrangement has the following systematics:
If the option is deactivated, the setting under Rows / Columns is used.
Rows / columns [Columns]: Specify the arrangement explicitly.


![[Note]](https://webapi.partcommunity.com/service/help/latest/pages/en/ecatalogsolutions/doc/images/note.png)
